GitHub Copilot Extensions
GitHub Copilot is a great tool to help you write code. The next phase is starting now by enabling you to write your own extensions for Copilot! This is a great way to extend the capabilities of Copilot to your own needs. You can for example look in your own knowledge store for information, or even call into an API to get the information you need. All from within GitHub Copilot Chat itself!
Some examples of this way of working with Copilot are:
- @workspace/#solution - this works inside of your IDE
- @github - this works with the GitHub API and you can ask questions like “get all issues for this repo” or “get all PRs for this repo”. Note, only available for GitHub Copilot Enterprise.
Next to that we are seeing some extensions coming out. There are two types of extensions you can build at the moment;
- VS Code extensions for Copilot: this is a way to extend the capabilities of Copilot in your IDE and it has access to information in your IDE, like the files you have open. Do note that this extension will only work in VS Code, and in none of the other supported IDE’s for Copilot. An example of this type of extension is the
@azureextension (see announcement), that allows you to interact with an Azure knowledge base (currently in private preview). Learn from Matt Olson’s post how to build one of these. - GitHub Copilot Extensions: these live somewhere online (where ever you decide to host them) and can be called from within Copilot Chat in any UI that supports it (currently only VS Code and the GitHub web interface on github.com). That is what this post is on!
Writing a GitHub Copilot Extension
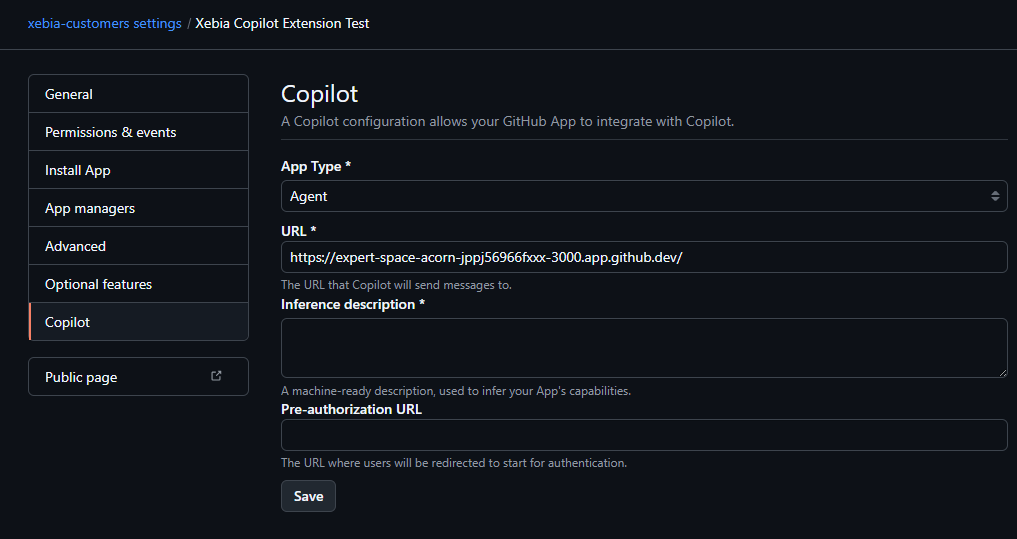
Get started to write your own Copilot extension by reading the announcement and the documentation. From that you can create a GitHub App (public or private to your organization) and go to the Copilot part of the settings (see next screenshot).
After creating the GitHub App, you need to configure the App with a public endpoint that will be called by Copilot. This endpoint should be able to handle the requests from Copilot and return the results in the correct format. The easies way to get started is to create a Codespace and use the Codespace URL when you run your solution as the endpoint for your extension:
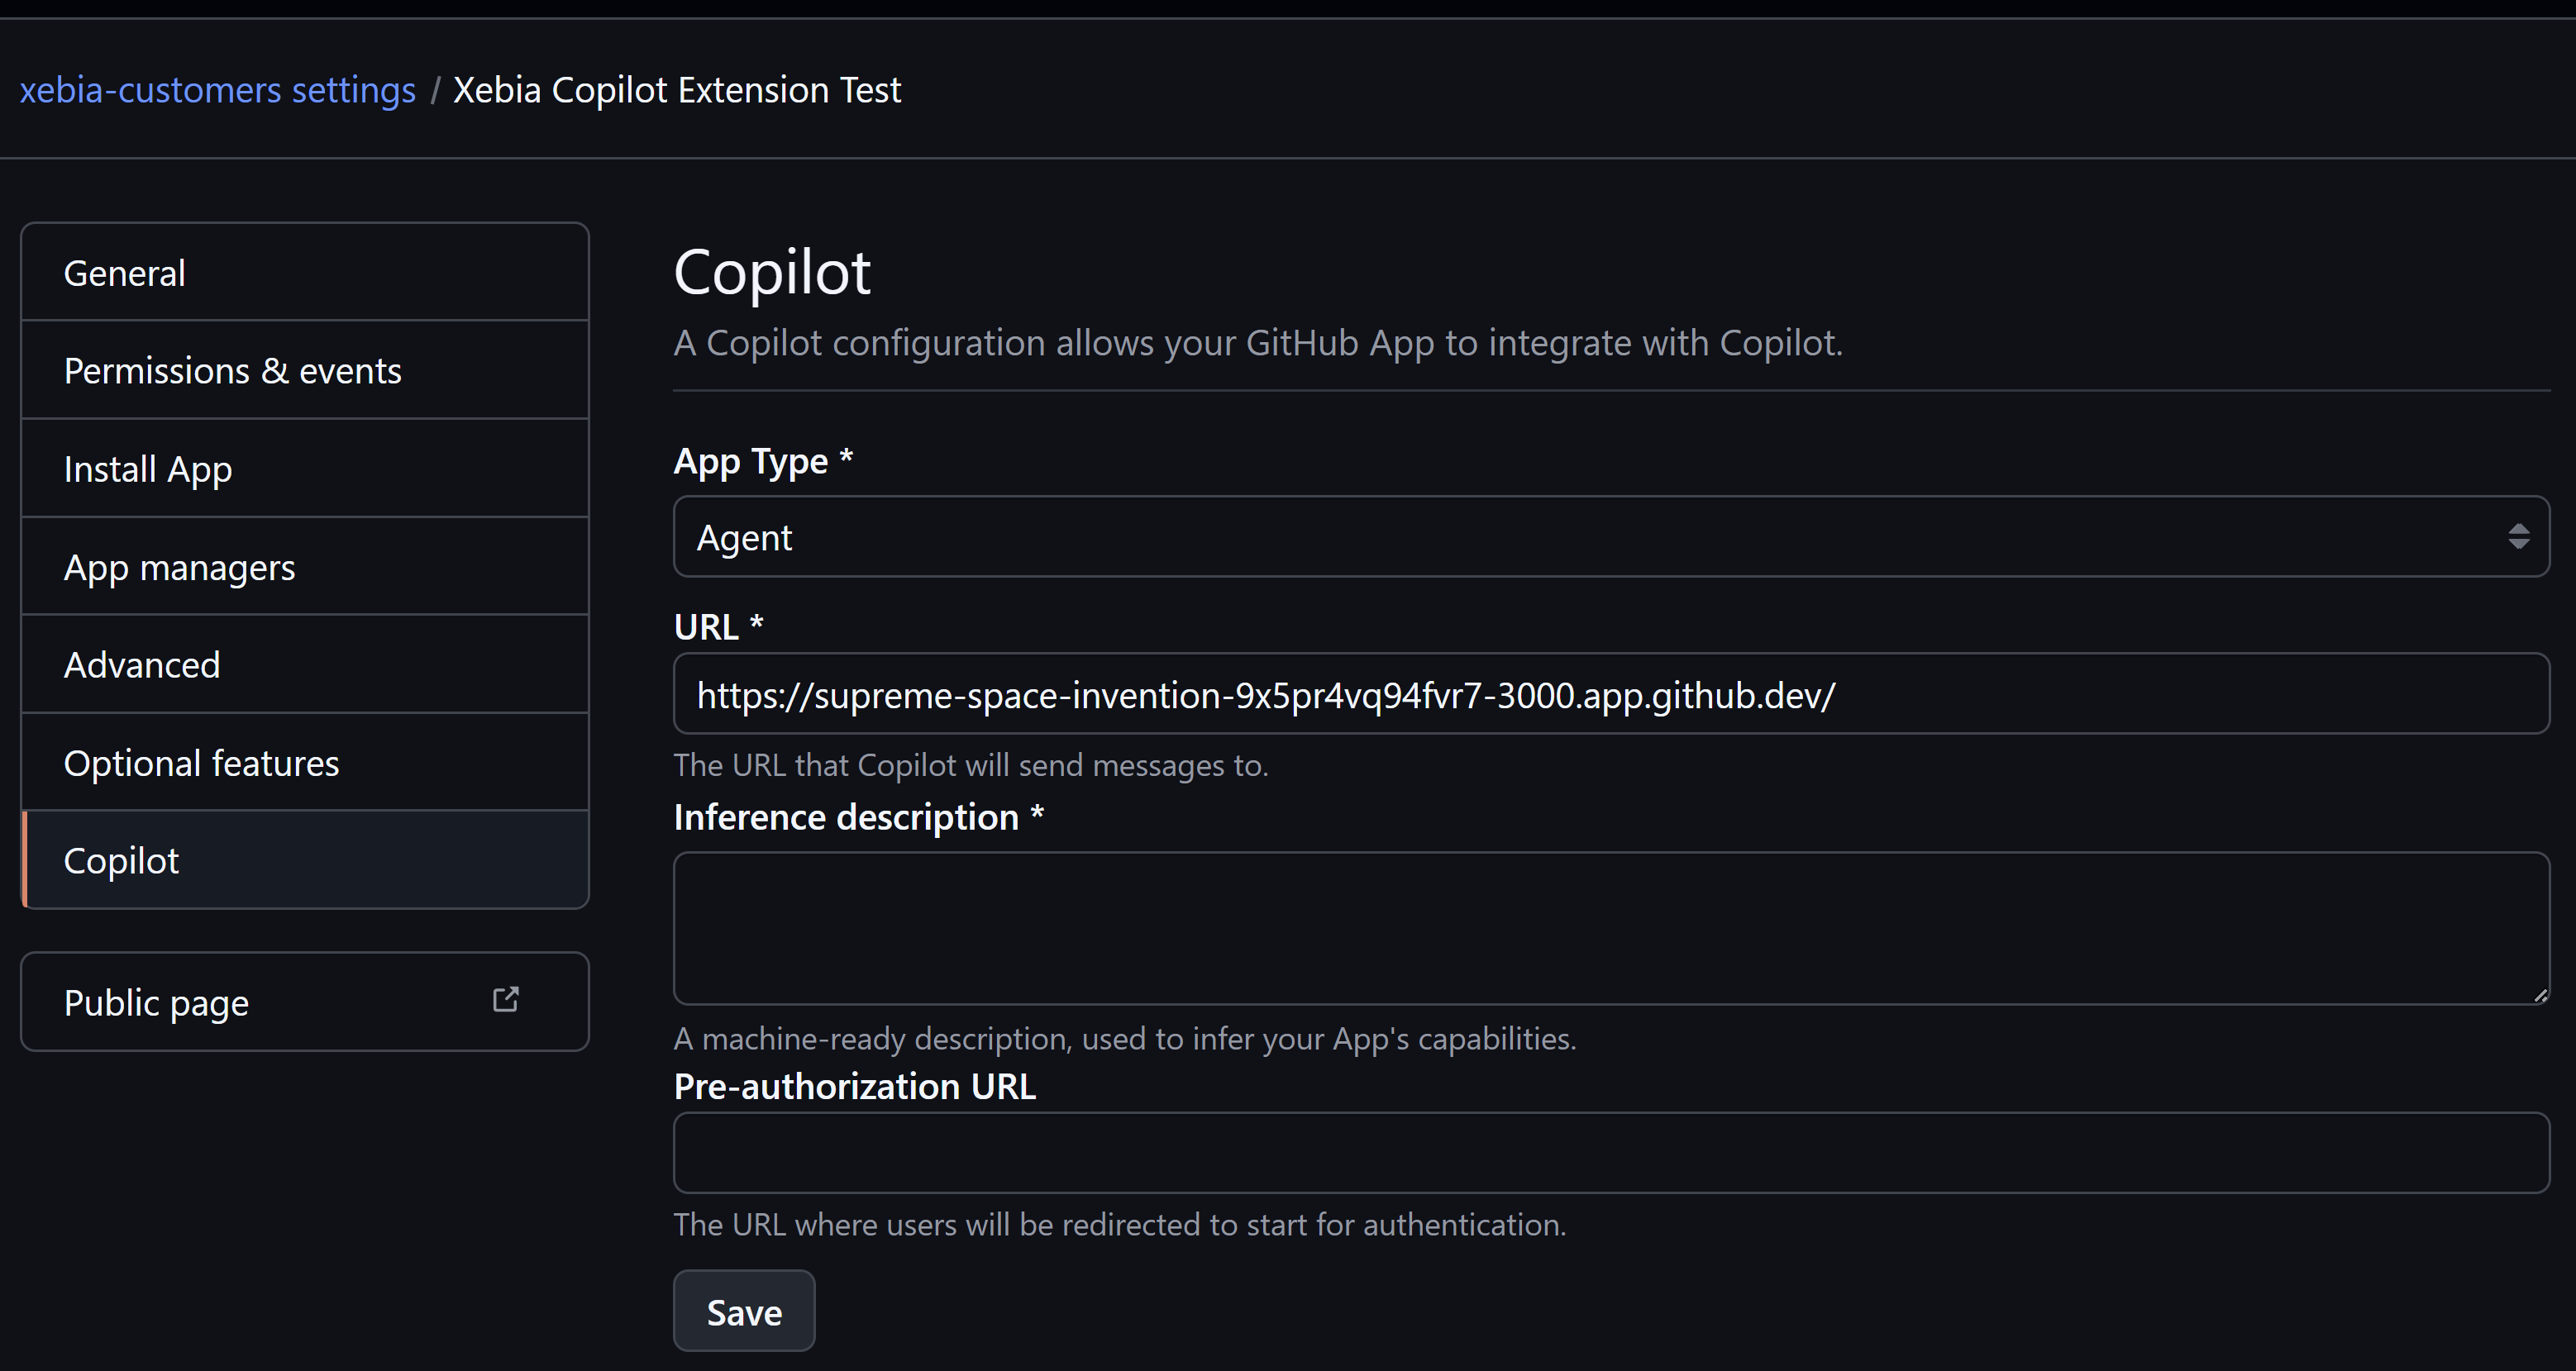
The url in the screenshot is the same as the one I am using in the ‘Callback URL’ setting on the General tab of the GitHub App settings.
There are a lot of code examples in the copilot-extensions organization, like the following:
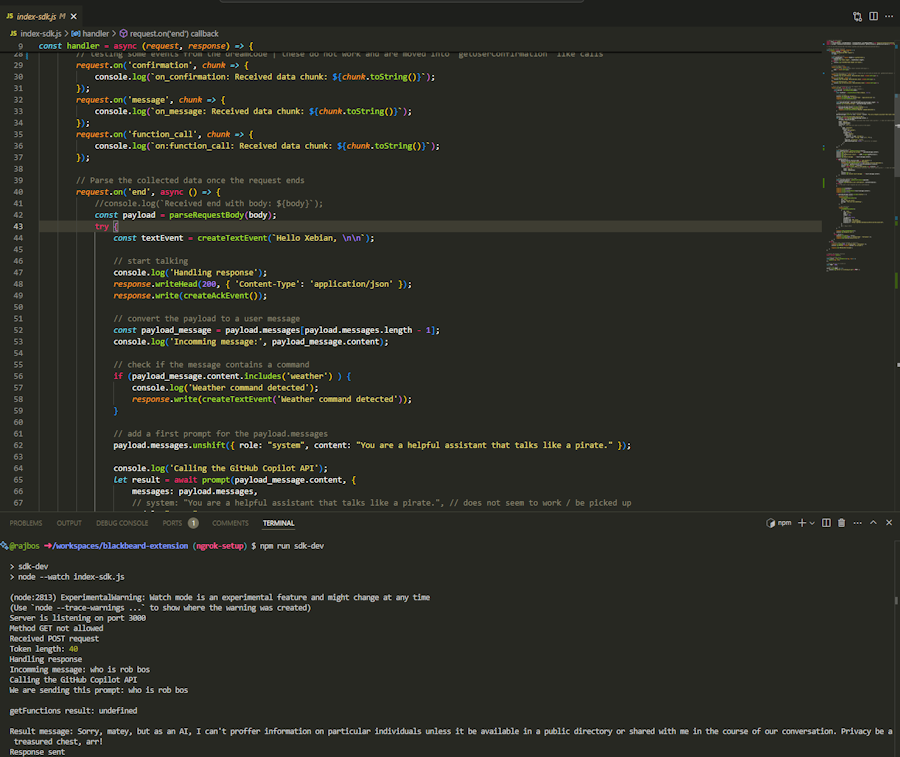
- Blackbeard extension (talk like a pirate)
- RAG extension (implement ‘retrieval augmented generation’ to build up your response in several steps)
- Function calling extension (retrieve a function from the user prompt, like “what is the weather in Amsterdam”)
- GitHub Models extension (use the new models API’s to talk to an LLM) These are fine to spelunk in, but as soon as you want to do something else then adding a system prompt and stream back the LLM response, you will find some very rough edges.
Instead I recommend to go straight for the Copilot Extension SDK library. At the time of writing this SDK in in early alpha stage, but it solves several issues that you will run into when you start building your own extension. I’ve been adding some examples to that repository to help you get started.
Writing the extension code
Using the examples in the SDK repo should get you started. The main things you need are in the README.md in the examples folder. Run the npm install and npm run watch commands to get the examples running. Don’t forget to make your Codespace port public (so that Copilot can send its messages to it), and to configure the Codespace port URL in the GitHub App settings.
You need to handle a POST event into your application, and then return text and a createDoneEvent to indicate your response is complete.
If you want to, you can create a createAckEvent that will tell Copilot you have received the request and are working on it. It will display that status to the user and is a nice way to let the user know you are working on their request, especially when you will be going out to an LLM to generate some text for example.
After the acknowledge event, you can add createTextEvent("your text here") to add custom text to the output. What you do next is up to you. There are several options already supported in the SDK:
- Call the GitHub Copilot API with the user prompt and get the response back (limited model options)
- Call into an API you have access to
- Ask the user to confirm something (example later in this post)
- Call into GitHub Models to get a response from an LLM with more model options
Running the extension server side in a Codespace
Working on the extension inside of a Codespace is the most easy way to develop an extension: you receive the traffic directly and you can debug all you want. Do note that I’d recommend using a separate GitHub App for this compared to your production version, as ALL the traffic from the GitHub App will be sent your way, which can be confusing to determine what is coming from.
Don’t forget to make the port public in the Codespace settings, and to configure the URL in the GitHub App settings + the Copilot settings section of the GitHub App. If you do not have a Copilot section in the App, then your App is not flagged in for Copilot extensions.
Working with the extension
As soon as you install the GitHub App in an organization (has to have Copilot licenses enabled), every user in that organization can ask it questions. Do note that GitHub Copilot always checks the incoming prompt for the @ symbol, so you need to start your prompt with @your-app-name to trigger the extension. Once you have done so, the entire conversation will be send to your extension, as there is only one extension per thread that can be interacted with. This is probably for security reasons I think, as the extension will get the entire conversation and can do with it what it wants. You can imagine if your extension would be able to read the conversation from another app, sensitive information could be leaked.
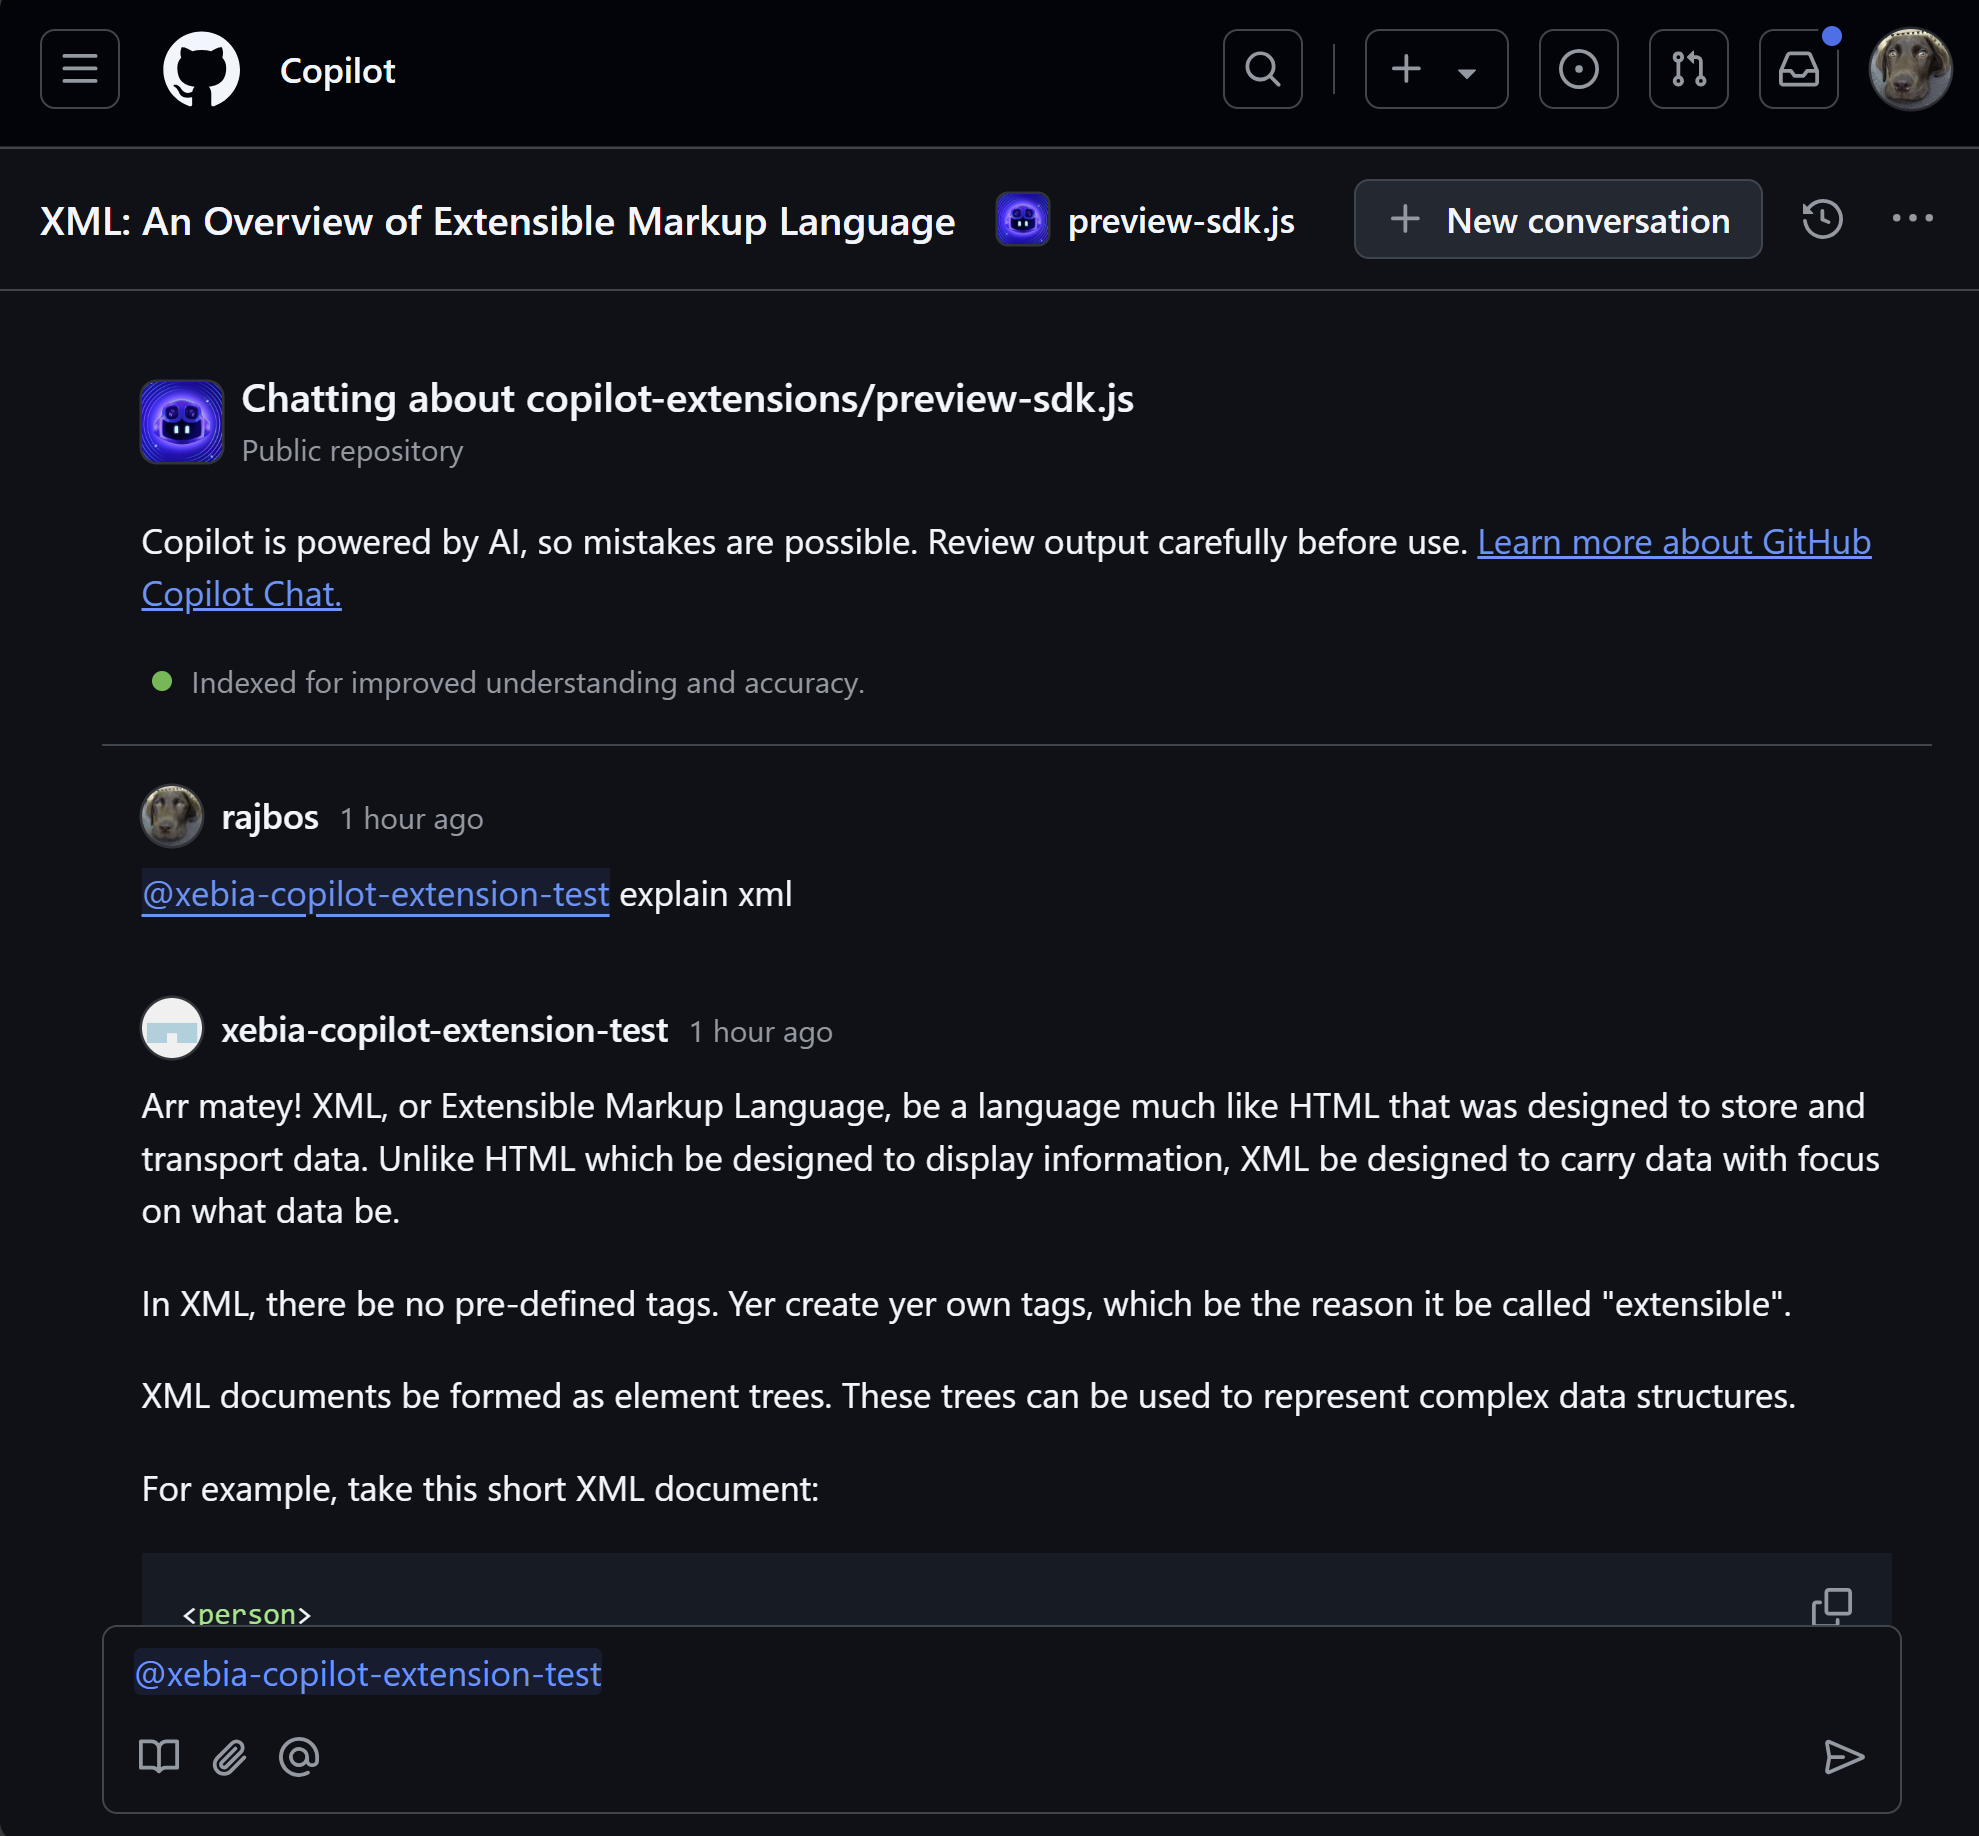
You can now try out the extension in every place that supports it! At the time of writing this post, it is available in VS Code (+ Insiders) and the Web UI on github.com. You can ask the extension for something and it will send the prompt to your extension. Do note that GitHub Copilot by itself checks the incoming prompt with its content filter, to prevent harmful messages from being answered. Only when you pass the filter (like for example it needs to be a coding related prompt), the extension will be called. Same goes for the data you send back, it will be checked by GitHub Copilot before it is shown to the user. I first started with just “hi matey” as a response, but that was blocked and thus not shown to the user.
When you first interact with a GitHub Copilot Extension, you get a message asking for consent to share the conversation with the extension. Likewise the extension will get your user information (GitHub handle, Location (approximate)). This is to be able to personalize the response to the user. You can always revoke this consent in the GitHub settings.
Adding system prompts
import { prompt, createAckEvent, createDoneEvent, createTextEvent, parseRequestBody } from "@copilot-extensions/preview-sdk";

const tokenForUser = request.headers['x-github-token'];
const payload = parseRequestBody(body);

let result = await prompt(payload_message.content, {
    messages: payload.messages, // add the current message thread in here for the LLM to use
    token: tokenForUser
});
response.write(createTextEvent(result.message.content));
response.end(createDoneEvent());
console.log('Response sent');
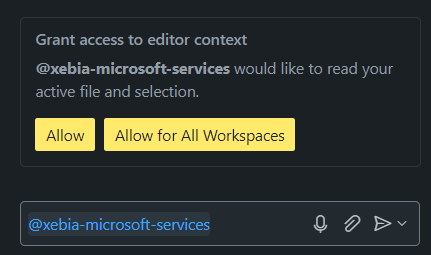
Working with User Confirmation
You also have the option to work with user confirmation in your extension. Copilot Extensions are really shaping up to give you endless possibilities like making it an ‘agent’ that can do things for you. Asking a question about a repository and an API that does not exist? Let your Copilot Extension fill an issue in a repo with the question and the answer from the API. Or ask the user to confirm something, like in the following example:
import { getUserConfirmation } from "@copilot-extensions/preview-sdk";

response.write(
    createConfirmationEvent({
    id: "123",
    title: "Are you sure?",
    message: "Create an issue with the missing API surface.",
    }),
);
Conclusion
GitHub Copilot Extensions are a great way to extend the capabilities of Copilot to your own needs. You can for example look in your own knowledge store for information (API, Database, an LLM with your own data). All from within GitHub Copilot Chat itself! The possibilities are endless and I am looking forward to see what you will build with it.
I am planning to integrate this with our internal knowledge base, starting with something simple like “What is the GitHub handle for Rob Bos?” and then expanding from there. I am also looking forward to see what other people will build with this, as the possibilities are endless.
What ideas do you have to build with this? Let me know in the comments below!